
09 Jan How to Use a Dental Emergency Kit for Tooth Trauma
Tooth trauma can happen anywhere—a bike accident in Golden Gate Park, a fall down your apartment stairs, or biting something hard during dinner. When dental emergencies strike, having a properly stocked dental emergency kit and knowing how to use it can make the difference between saving and losing a tooth. The key is quick action followed by immediate professional care.
This guide walks you through how to use common dental emergency kit items for tooth trauma. You’ll learn step-by-step instructions for managing bleeding, protecting damaged teeth, and stabilizing the situation until you can reach a dental clinic for proper treatment.
Key Takeaways
- Use gauze and direct pressure to control bleeding from tooth trauma injuries.
- Handle knocked-out teeth by the crown only and keep them moist in milk or saliva.
- Apply temporary dental cement or dental wax to protect broken tooth edges.
- Take over-the-counter pain relievers as directed while avoiding aspirin directly on gums.
- Rinse gently with clean water or saline solution to remove debris.
- Seek professional dental care within 30 minutes for the best chance of saving teeth.
- Call Emergency Dental San Francisco at 415-230-2783 for immediate same-day treatment.
Understanding how to properly respond to dental trauma can prevent further damage and improve treatment outcomes.
Essential Steps for Managing Bleeding From Tooth Trauma
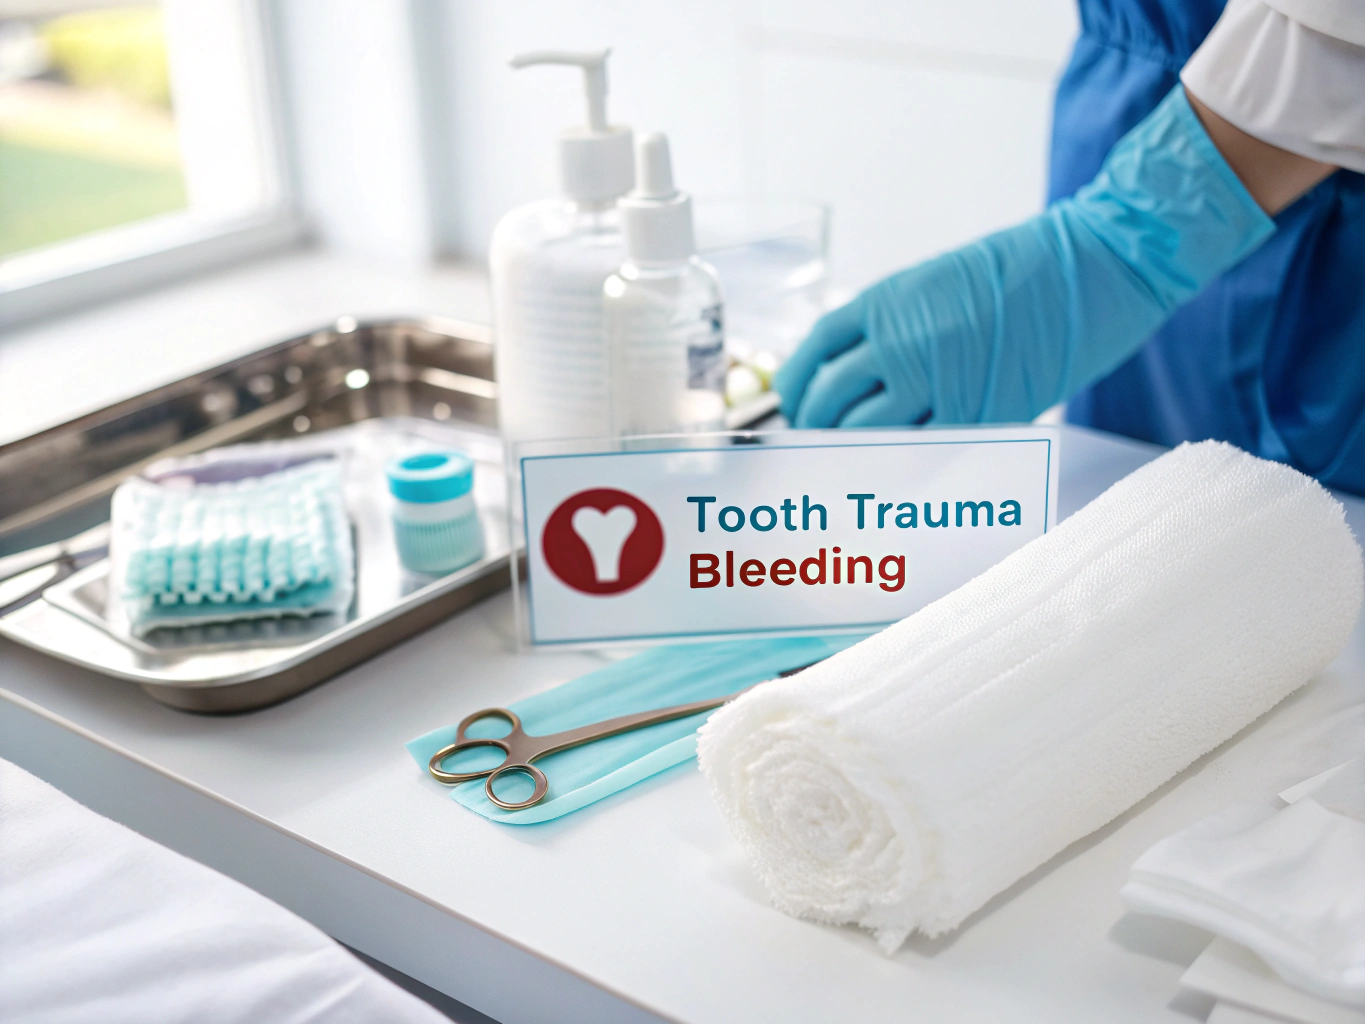
Controlling bleeding is your first priority when dealing with tooth trauma. Blood can make the situation look worse than it is, but quick action helps you assess the actual damage. Most dental bleeding responds well to direct pressure and proper positioning.
Start by staying calm and moving to a well-lit area where you can see clearly.
1. Apply Direct Pressure With Clean Gauze
Remove sterile gauze pads from your dental emergency kit and fold them into a thick square. Place the gauze directly over the bleeding area and apply firm, steady pressure for 10-15 minutes without lifting to check.
2. Position Your Head Upright
Sit upright or stand rather than lying down to reduce blood flow to the injured area. This position also prevents you from swallowing excess blood, which can cause nausea.
3. Use a Cold Compress on the Outside of the Face
Apply an ice pack or cold compress from your emergency kit to the outside of your cheek near the injured tooth. Keep it on for 15 minutes, then remove for 5 minutes to prevent tissue damage.
4. Rinse Gently With Clean Water
Once bleeding slows, rinse your mouth very gently with clean bottled water or saline solution to remove blood and debris. Spit carefully rather than swishing vigorously.
5. Replace Gauze as Needed
Change gauze pads when they become saturated with blood, but avoid disturbing any clots that have formed. Continue pressure until bleeding stops completely.
If bleeding continues after 20 minutes of direct pressure, this indicates a more serious injury requiring immediate professional attention.
Protecting and Preserving Knocked-Out Teeth
Time is critical when a tooth gets completely knocked out—you have roughly 30 minutes for the best chance of successful reimplantation. Your dental emergency kit contains several items that can help preserve the tooth until you reach professional care. The goal is keeping the tooth’s root surface moist and clean.
Speed matters more than perfection in these situations, so work quickly but carefully.
1. Handle the Tooth by the Crown Only
Pick up the knocked-out tooth by the white crown portion that normally shows in your mouth. Never touch or scrub the root surface, as this can damage cells needed for successful reimplantation.
2. Rinse Briefly if Visibly Dirty
If the tooth is covered in dirt or debris, rinse it gently with clean water for no more than 10 seconds. Hold it by the crown and let water flow over it rather than scrubbing.
3. Attempt Gentle Reinsertion
If possible, try to place the tooth back in its socket immediately. Bite down gently on clean gauze to hold it in place, but don’t force it if there’s significant resistance.
4. Store in Milk if Reinsertion Fails
Place the tooth in the small container from your emergency kit filled with cold milk. Milk’s pH and osmolarity help preserve root surface cells better than water.
5. Keep Between Cheek and Gum as Alternative
If no milk is available, store the tooth between your cheek and gum, where saliva provides natural preservation. Be careful not to swallow it accidentally.
Emergency Dental San Francisco provides same-day treatment for knocked-out teeth across the Bay Area, with 24/7 availability for time-sensitive cases like these.
Using Temporary Materials for Broken or Chipped Teeth
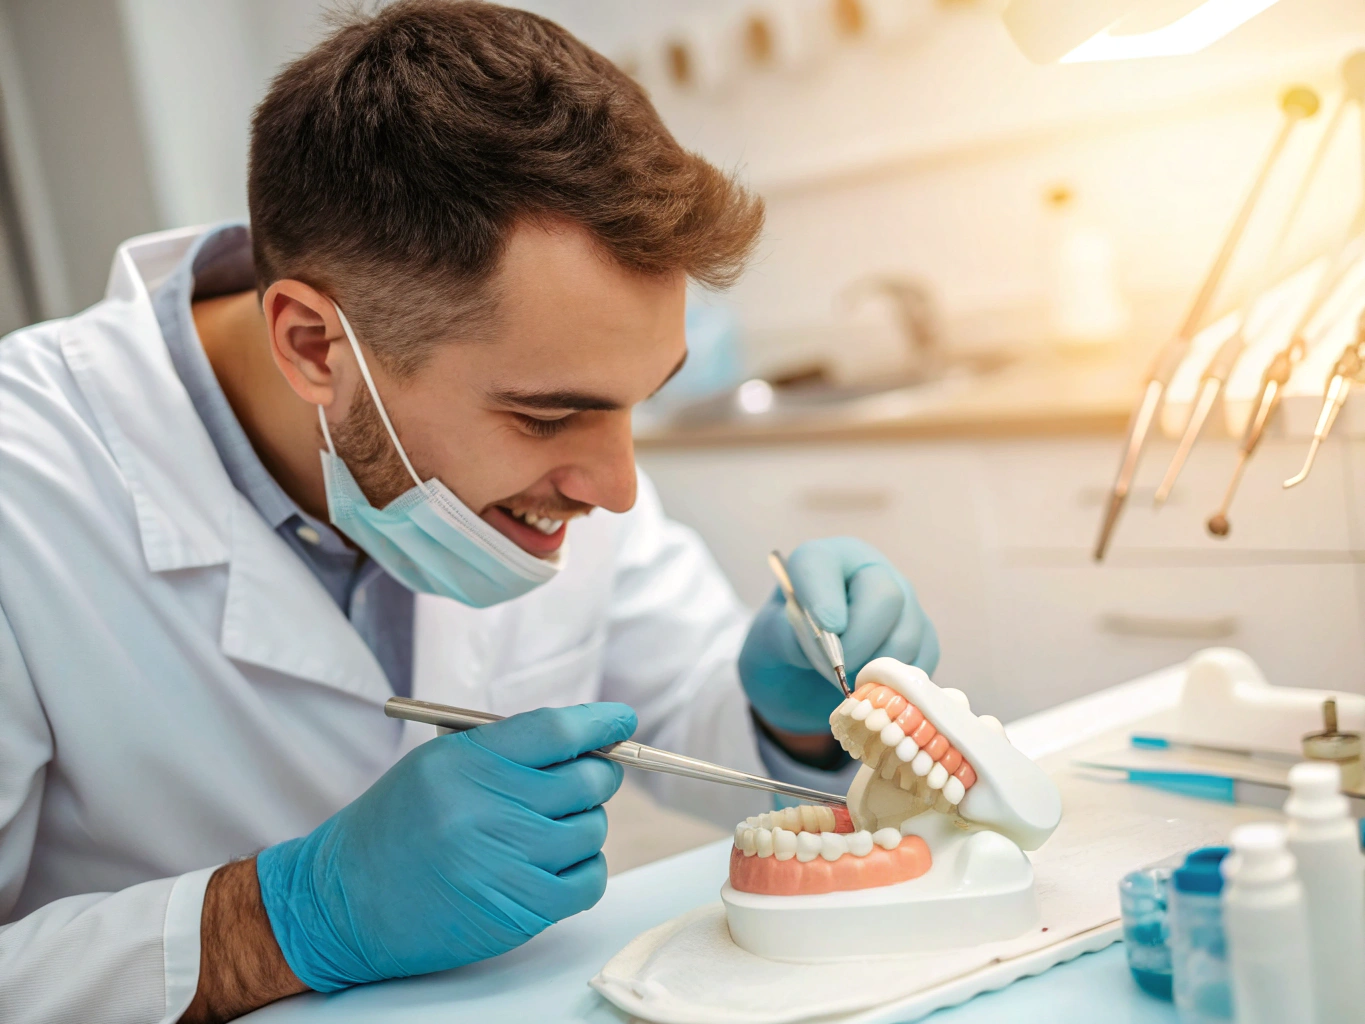
Broken and chipped teeth create sharp edges that can cut your tongue, cheeks, or lips while exposing sensitive inner tooth structures. Your dental emergency kit’s temporary materials help protect both the damaged tooth and your soft tissues. These solutions provide short-term relief until professional repair can be completed.
Work in good lighting and keep your hands clean throughout the process.
| Material | Best For | How Long It Lasts |
|---|---|---|
| Dental Wax | Sharp edges, broken braces | 2-4 hours |
| Temporary Cement | Lost crowns, large chips | 24-48 hours |
| Temporary Filling | Small cavities, minor chips | 1-2 weeks |
1. Clean the Area Thoroughly
Rinse your mouth gently with clean water to remove any loose tooth fragments or debris. Pat the area dry with gauze before applying temporary materials.
2. Apply Dental Wax for Sharp Edges
Warm a small piece of dental wax between your fingers until it becomes pliable. Press it over sharp tooth edges or broken braces to create a smooth protective barrier.
3. Mix Temporary Cement as Directed
Follow package instructions to mix temporary dental cement for larger breaks or lost crowns. Apply a small amount to cover exposed tooth surfaces, avoiding the gum line.
4. Shape and Smooth the Material
Use clean fingers or the handle of a plastic spoon to shape temporary materials smoothly. Remove excess that might interfere with your bite or irritate your gums.
5. Test Your Bite Gently
Close your mouth slowly to ensure the temporary repair doesn’t create bite problems. Make small adjustments if needed, but avoid chewing on the repaired area.
These temporary solutions buy you time but require professional dental check up within 24-48 hours for permanent repair.
Pain Management and Oral Care During Dental Trauma
Managing pain effectively helps you think clearly and take appropriate action during dental emergencies. Your emergency kit contains several options for pain control, but using them correctly matters for both safety and effectiveness. The goal is reducing discomfort while avoiding anything that might interfere with professional treatment.
Pain levels can help indicate the severity of injury and guide your next steps.
1. Take Over-the-Counter Pain Relievers
Use ibuprofen or acetaminophen from your kit according to package directions. Ibuprofen works particularly well for dental pain because it reduces inflammation along with pain.
2. Apply Topical Pain Relief Gel
Dab a small amount of oral pain gel directly on the affected tooth and surrounding gums. Use clean fingers or a cotton swab to avoid contaminating the tube.
3. Rinse With Warm Salt Water
Mix half a teaspoon of salt in warm water for a soothing rinse that also helps clean the area. Swish gently for 30 seconds, then spit out completely.
4. Use Cold Therapy on Face
Apply ice packs to the outside of your face for 15-20 minutes at a time to numb pain and reduce swelling. Wrap ice in a thin towel to protect your skin.
5. Avoid Aspirin on Gums
Never place aspirin tablets directly on teeth or gums, as this can cause chemical burns. Only take aspirin orally and follow dosing instructions carefully.
6. Keep Your Head Elevated
Sleep with extra pillows to keep your head elevated above your heart. This position reduces blood flow to the injured area and minimizes throbbing pain.
Pain that worsens despite these measures or includes fever suggests infection requiring immediate professional attention.
Preparing Your Dental Emergency Kit for Future Incidents
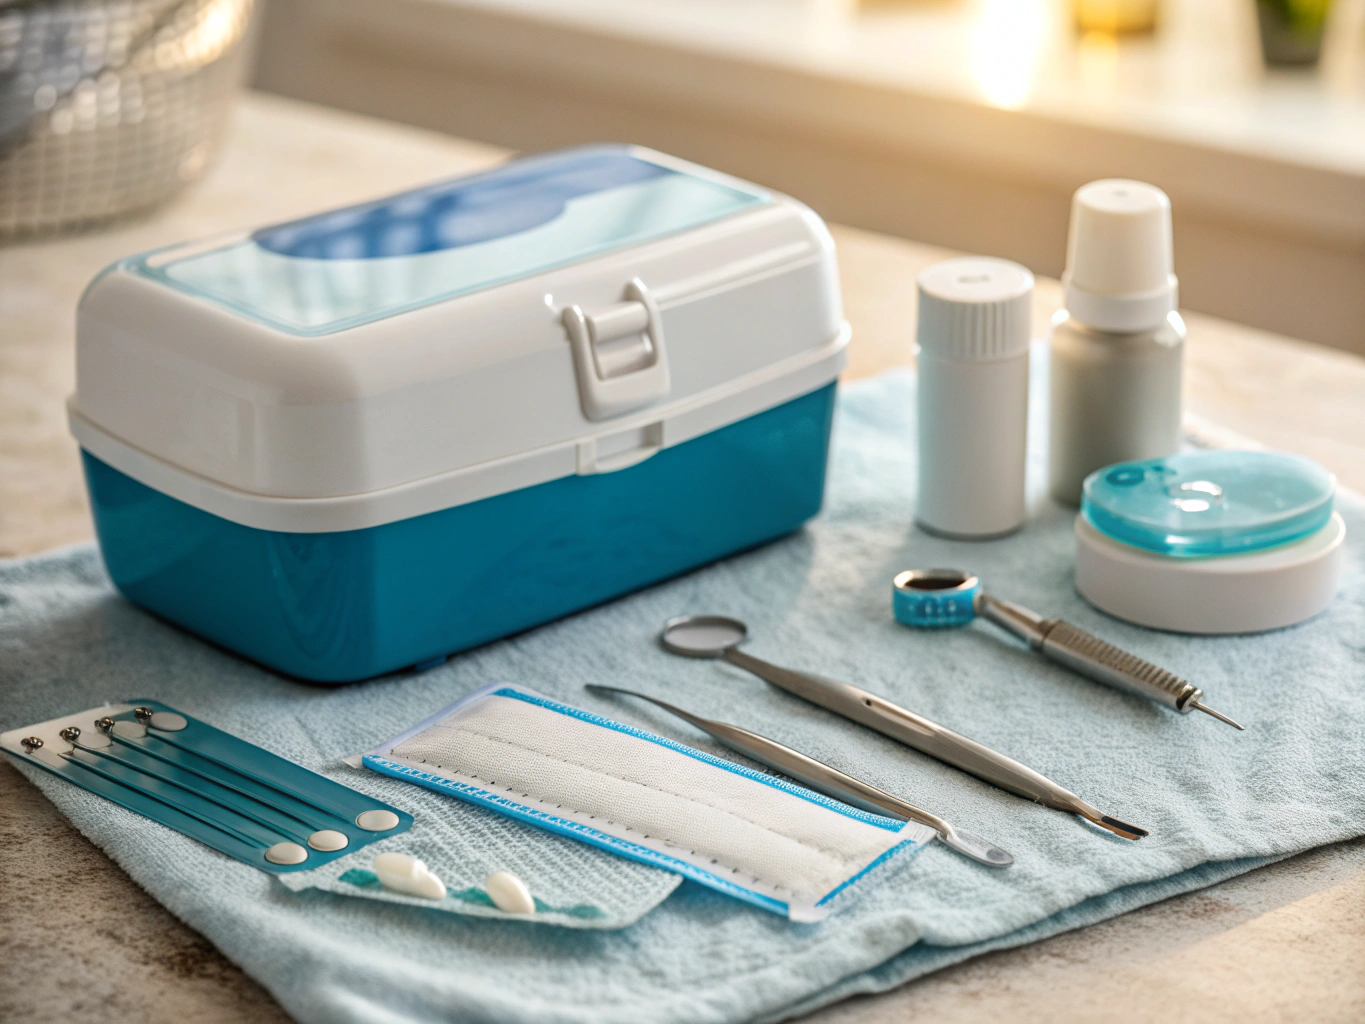
Having the right supplies readily available makes all the difference during dental emergencies. A well-stocked kit should cover the most common trauma situations while remaining compact enough for home, car, or travel use. Regular maintenance ensures everything stays fresh and functional when you need it.
Consider your family’s specific needs when customizing your emergency supplies.
1. Stock Essential Bleeding Control Items
Include sterile gauze pads, medical tape, and disposable gloves for managing bleeding safely. Add a small bottle of saline solution for the gentle cleaning of injured areas.
2. Add Temporary Protection Materials
Pack dental wax for sharp edges, temporary dental cement for lost crowns, and temporary filling material for larger chips or holes. Include a small mirror and flashlight for better visibility.
3. Include Pain Management Options
Stock both ibuprofen and acetaminophen for different pain types, plus topical oral pain gel for direct application. Add instant cold packs that activate when squeezed.
4. Prepare Tooth Preservation Supplies
Keep a small container with a tight lid for storing knocked-out teeth, along with single-serving milk boxes that don’t require refrigeration. Include contact information for emergency dental services.
5. Maintain and Update Regularly
Check expiration dates every six months and replace outdated medications or materials. Test flashlights and replace batteries as needed to ensure everything works during emergencies.
Store your kit in a cool, dry place where family members can find it easily during stressful situations.
When to Seek Immediate Professional Dental Care
While dental emergency kits help manage initial trauma, they cannot replace professional treatment. Knowing when to transition from first aid to professional care can mean the difference between saving and losing teeth. Some situations require immediate attention regardless of pain levels.
Trust your instincts—when in doubt, seek professional evaluation rather than waiting.
- Knocked-out permanent teeth: Success rates drop significantly after 30 minutes, making immediate professional care essential for reimplantation attempts.
- Severe bleeding that won’t stop: Bleeding that continues after 20 minutes of direct pressure may indicate damage to major blood vessels requiring professional control.
- Signs of infection: Fever, facial swelling, or pus drainage suggest bacterial infection that needs prescription antibiotics and professional drainage.
- Suspected jaw fracture: Difficulty opening your mouth, misaligned bite, or numbness in your face may indicate fractures requiring immediate medical attention.
- Breathing or swallowing problems: These symptoms suggest airway involvement requiring emergency room evaluation rather than dental clinic treatment.
- Multiple broken teeth: Extensive trauma often involves underlying bone damage that needs professional imaging and comprehensive treatment planning.
Emergency Dental San Francisco provides 24/7 urgent care for tooth trauma across San Francisco and the Bay Area, with same-day appointments available for time-sensitive cases. Our team prioritizes pain relief and tooth preservation using modern equipment and proven techniques. We accept most dental insurance plans and offer financing options to make emergency care accessible when you need it most.
Conclusion
Quick action with a proper dental emergency kit can save teeth and prevent complications during trauma situations. The key is controlling bleeding, protecting damaged teeth, and seeking professional care within 30 minutes when possible. Call 415-230-2783 for immediate emergency dental treatment in San Francisco.
Emergency Dental San Francisco specializes in immediate tooth trauma care with same-day appointments available. Our licensed professionals provide fast pain relief and clear treatment plans. Get started with expert emergency dental care today.
FAQs
What Should Be in a Dental Emergency Kit?
Include sterile gauze, a small container with a lid (for a knocked-out tooth), saline or clean water, cold pack, dental wax (for sharp edges), temporary filling material (OTC), floss, a soft toothbrush, pain relievers like ibuprofen or acetaminophen (if safe for you), and your dentist’s/our 24/7 number (415-230-2783) for same-day guidance.
How Do You Make a Dental Emergency Kit at Home?
Use a clean zip pouch and add gauze, a lidded cup, saline, a cold pack, dental wax, OTC temporary filling material, floss, and basic pain relievers. Label it with allergy info and keep it accessible; for tooth trauma, call us right away so we can advise next steps and arrange urgent care.
What Is the Best Temporary Filling for a Broken Tooth?
An OTC temporary filling/cement (from a pharmacy) is usually best for short-term coverage until you’re seen. Gently rinse, dry the area, place the material as directed, and avoid chewing on that side—then book an urgent visit so we can properly evaluate and treat the tooth.
What Should I Do If My Tooth Gets Knocked Out?
Act fast: pick it up by the crown (not the root), rinse briefly if dirty, and try to place it back in the socket. If you can’t, store it in milk or saline (or inside your cheek if safe) and get emergency dental care immediately—reimplantation is most successful within 30–60 minutes, so call 415-230-2783 right away.
How Do You Stop Tooth Pain Fast in an Emergency?
Rinse with warm salt water, use floss to remove trapped debris, apply a cold compress to the cheek, and take ibuprofen or acetaminophen if safe for you. Avoid placing aspirin on the gums and avoid heat; if pain is severe, swelling is present, or you suspect an abscess, contact us for same-day emergency treatment.

Emergency Dental San Francisco is a dental office focused on providing same-day dental appointments to patients in San Francisco and the surrounding area. We provide urgent dental care services during weekends, evenings and holidays.
We accept several forms of payment and have financing options available to those who qualify. We accept most dental insurance.